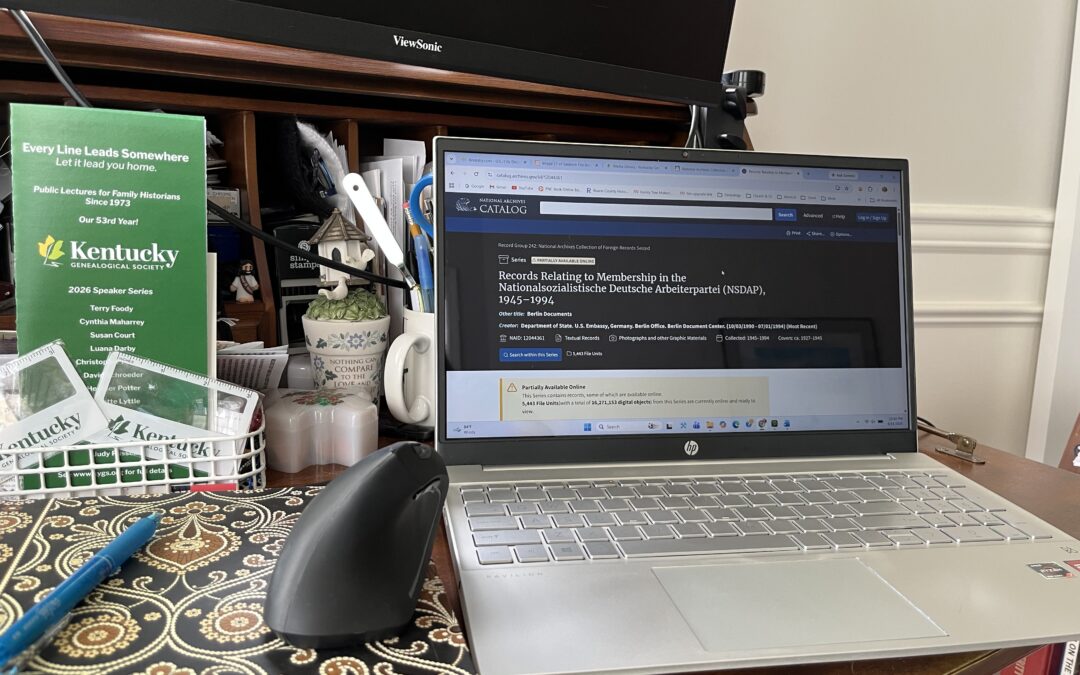
Expand your family tree with this DNA comparison technique. If you have taken a DNA test with a company like Ancestry, 23andMe, or MyHeritage, you have seen your ethnicity estimates and a list of cousins. However, to truly understand your family history, you often need to look at the raw data. GEDmatch is a free, third-party site that allows you to compare your DNA with the DNA of people who tested with different companies. Follow this guide to prepare your data and collaborate effectively with others (including AI researchers) to break through “brick walls” in your family tree.
Step 1: Preparing Your Data
Before you can use GEDmatch, you must download your “Raw DNA” file from your testing company.
- Download: Go to the settings of your DNA provider (Ancestry, MyHeritage, etc.) and look for “Download Raw DNA Data.” This will be a .zip file. Do not unzip it. Upload: Go to GEDmatch.com, create a free account, and use the “Generic Upload” tool to import your file.
- Wait: It typically takes 24–48 hours for your kit to be fully “tokenized” for all tools, though some comparisons can be done sooner.
Step 2: The One-to-One Comparison Tool
The “One-to-One” tool is the most powerful feature for beginners. It allows you to see exactly which segments of DNA you share with another person.
- How to Access: On your GEDmatch home dashboard, find the “Free Tools” section and select “One-to-One Autosomal Comparison.”
- Understanding the Settings: When comparing your kit against another person’s kit number, you will see several options. For general research, the defaults are usually fine, but “advanced” seekers often adjust these to find more distant links: Minimum Segment Size (cM): The default is 7.0. Lowering this (to 3.0 or 5.0) will show smaller, more distant shared segments. SNP Threshold: This ensures the match is legitimate and not a statistical fluke. A standard setting is 150 to 200.
- Sharing Your Results: To get an analysis of your match, highlight and copy the results table that appears after you run the comparison. It should include columns like Chr (Chromosome), Start Position, End Position, and Centimorgans (cM). Paste this text directly into your research notes or share it with your research partner.
Step 3: Managing and Sharing Match Lists. A “One-to-Many” list shows you everyone in the database who matches you.
- Viewing Matches: Use the “One-to-Many” tool. This provides a list of names, kit numbers, and the total amount of shared DNA (measured in Centimorgans).
- Saving Your List as a PDF: To keep a record of your matches or share them with a researcher: While viewing your match list, press Ctrl + P (Windows) or Cmd + P (Mac). Change the “Destination” to “Save as PDF.” This creates a portable file that preserves all the columns and kit numbers.
Step 4: Collaborative Analysis
- When you share this data with a research partner or an AI, Upload the PDF. If you have a match list, upload it to provide a “bird’s-eye view” of your matches.
- The Goal is Triangulation: Look for instances where you match “Person A” and “Person B” on the exact same segment of the same chromosome. This is the gold standard for proving a common ancestor.
- Quick Tips for Success Kit Numbers: These are the unique identifiers (e.g., A123456) used on GEDmatch. Always include these when discussing a match.
- Small Segments: Be cautious with segments below 7.0 cM. While they can be significant in certain communities, they can also be “false matches” (IBC – Identical by Chance).
A Personal Note on Using AI for Genealogy
I have been integrating AI into my family history research for a long time, experimenting with various platforms like Claude, ChatGPT, and OpenAI for a wide range of DNA tasks. While each tool has its strengths, I have found my most reliable and consistent results with Gemini. The key to these breakthroughs hasn’t just been the initial analysis, but the conversation that follows. By asking follow-up questions and running specific queries for variables within individual tasks, Gemini has consistently guided me to some amazing results. It acts as a research partner, helping me see patterns in segment data and helping to bridge the gap between complex DNA results and the traditional paper trail. Whether you are a beginner or a seasoned researcher, I encourage you to use this guide as a starting point to see what these tools can uncover in your own data.
Privacy: Only share kit numbers and data in secure research environments or with the consent of the kit owners.
Editor’s note: This “Beginner’s Guide” was shared by the author in the Front Porch Talk group “All Things DNA.” Society members who are interested in learning and sharing information about using DNA in family research meet virtually once a month and communicate in the “All Things DNA” chat room on the Kentucky Genealogical Society’s website.